Configuring ElasticPress via the Plugin Dashboard
The ElasticPress plugin comes with several built-in configuration options. This guide will explain each of the available settings and how to use them.
If you have not yet installed and set up ElasticPress, refer to our Getting Started page.
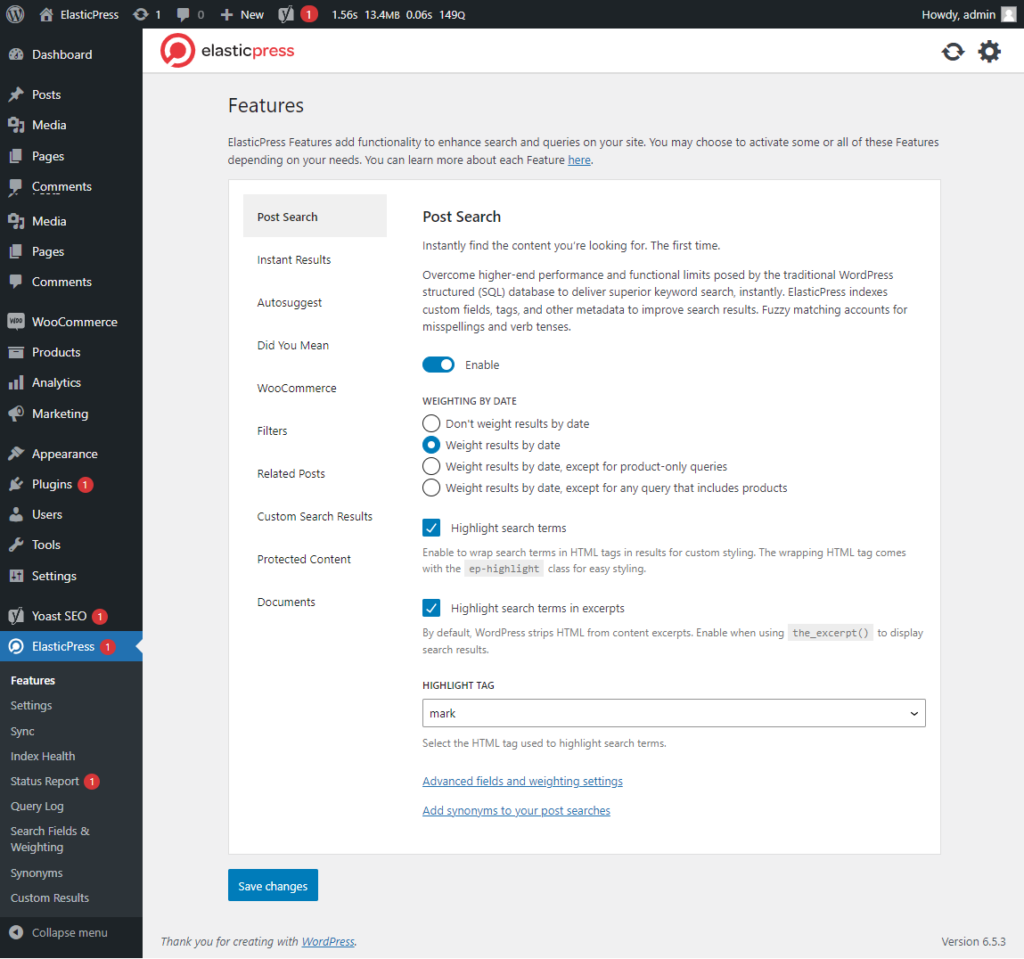
ElasticPress Plugin Dashboard
To access the ElasticPress dashboard, log into your site’s Admin Menu (e.g. https://yoursiteurl.com/wp-admin/), and click Plugins on the sidebar menu.

From the list of installed plugins, locate ElasticPress, and click the Dashboard link.
For a quick overview of a feature, click the link to that feature:
- Post Search
- Instant Results
- Autosuggest
- Did You Mean
- WooCommerce
- Filters
- Related Posts
- Custom Search Results
- Protected Content
- Documents
- Comments
- Terms
Post Search
You can set up ElasticPress to enable searching your posts and to give more weight to more recent Posts.
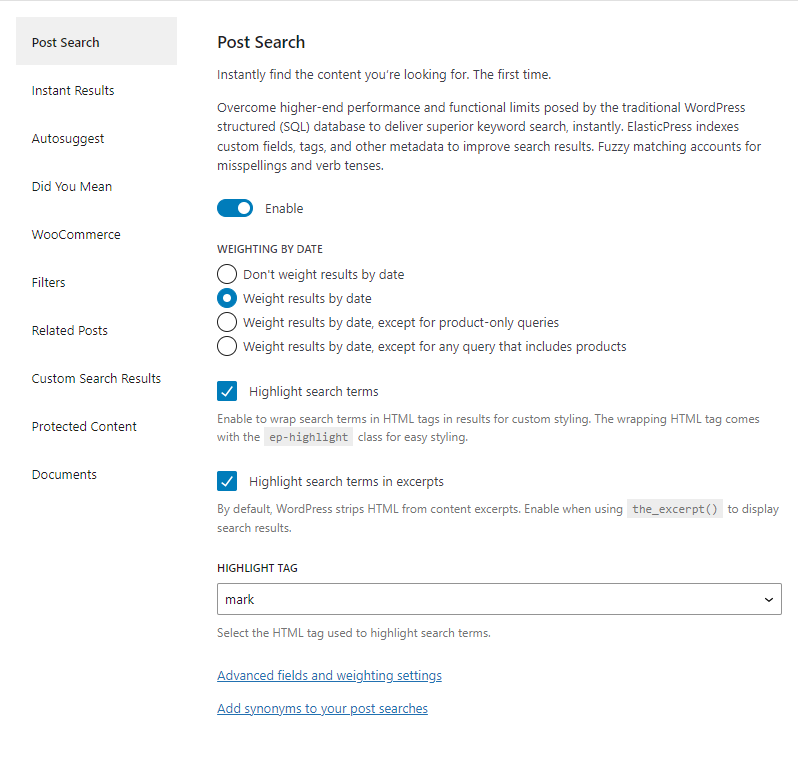
Weight Results by Date
To allow more recent posts to be weighted more (appear higher in search results), select one of the available options under the Weight results by date section and then click the Save changes button.
Once post search is enabled, see the Configuring Search Fields and Weighting for ElasticPress for more information on how to adjust search settings for posts.
Highlighting
Highlighting will automatically wrap search terms in HTML tags on the search results page, allowing you to add custom styling to your site to make the search terms stand out on the results page.
To enable ElasticPress to add highlighting, check the Highlight search terms option and then click the Save changes button.
If you’d like highlighting to apply to the post excerpt displayed on search results, check the Highlight search terms in excerpts option and then click the Save changes button.
You can also select what type of tags ElasticPress adds to your search results by selecting your preferred element type from the dropdown menu under the Highlight tag section and then clicking the Save changes button.
In most cases, the <em>, <strong>, <mark>, and <i> elements are likely to have specific styling applied on your site (or in users’ default browser stylesheet) that may not match your intended styling for search result highlighting. For this reason, the <span> element is often your safest bet for fully customizing highlight appearance. ElasticPress will add the ep-highlight class to the chosen element to allow you to style highlighted content.
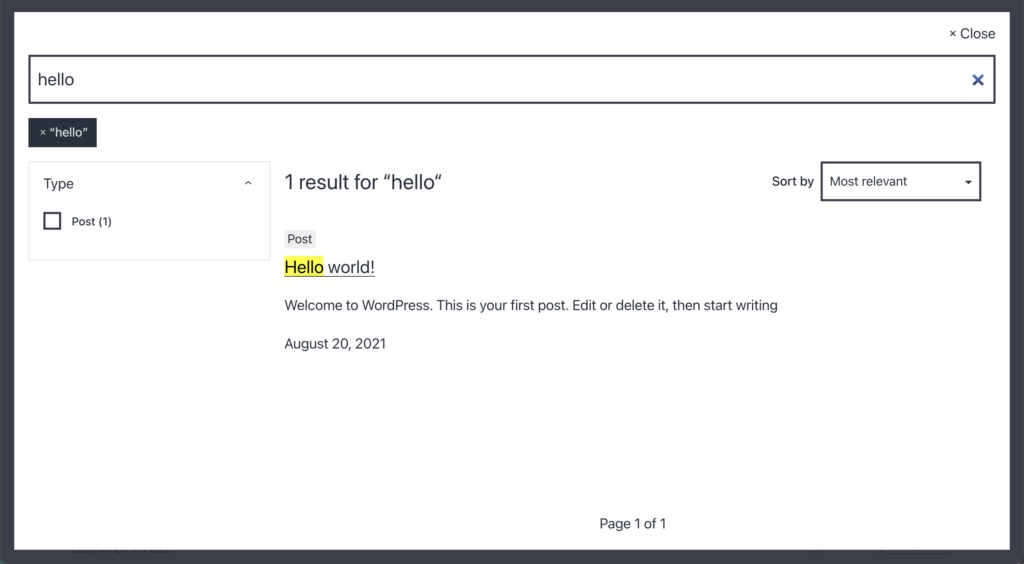
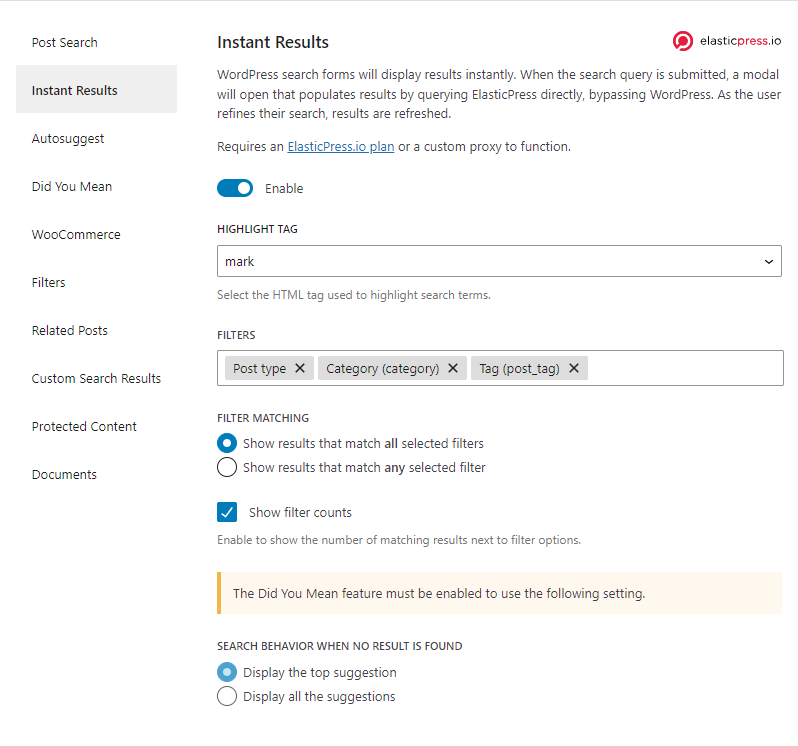
Instant Results
The Instant Results Feature enables you to completely bypass WordPress while performing searches, providing real-time updates as visitors enter queries and filter results. When a visitor executes a search with Instant Results enabled, a modal appears on the page with the results and filters visible. This modal inherits theme styles, but can also be further customized using CSS to exactly match your theme’s look and feel.
Highlight Tag
Highlighting will automatically wrap search terms in HTML tags on the search results page, allowing you to add custom styling to your site to make the search terms stand out on the results page.
To enable ElasticPress to add highlighting, select the tag you want to use for the highlighting using the dropdown under the Highlight tag section and then click the Save button.
In most cases, the <em>, <strong>, <mark>, and <i> elements are likely to have specific styling applied on your site (or in users’ default browser stylesheet) that may not match your intended styling for search result highlighting. For this reason, the <span> element is often your safest bet for fully customizing highlight appearance. ElasticPress will add the ep-highlight class to the chosen element to allow you to style highlighted content.
Filters
The Instant Results Feature enables you to select which Filters to display within the modal. Filters can include Post Types, taxonomies (such as Categories and Tags) assigned to Post Types, and WooCommerce products price range.
Filter Matching
You can choose the Match Type that applies to Instant Results Facets:
- Show results that match all selected filters: If you choose this option, clicking on multiple filters may decrease the number of posts that appear by further filtering or drilling down to articles that share all the selected attributes.
- Show results that match any selected filter: If you choose this option, clicking on multiple filters may increase the number of posts that appear by adding additional “OR” criteria to the facet filter.
Filter counts
Checking the Show filter counts option will display the number of posts available aside from each filter option.
Suggestions displayed by Did You Mean
If the Did You Mean feature is enabled, you can customize how suggestions will be displayed in the Search behavior when no result is found section.
Autosuggest
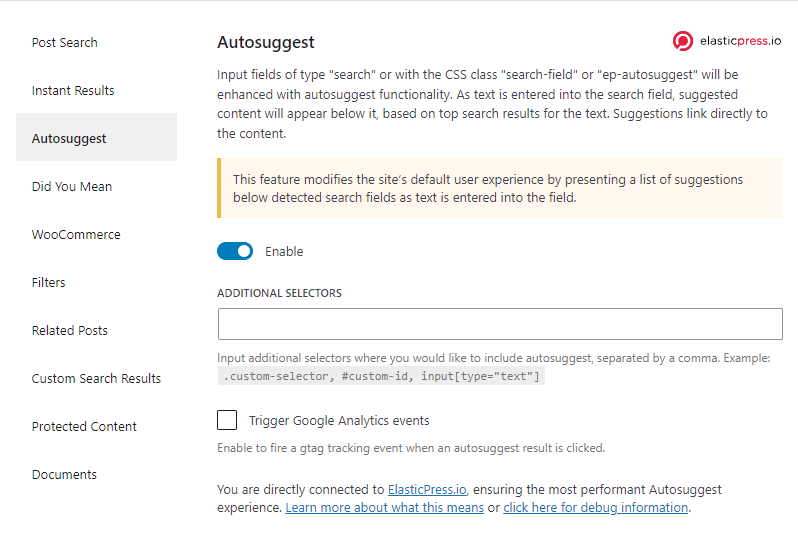
The ElasticPress Autosuggest feature allows you to show suggested results while the user is typing in a search box. As soon as the user begins typing a search, a list of the titles of pages that match the letters entered by the user so far will appear below the search box.
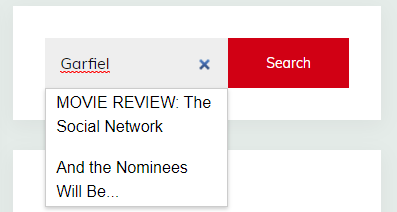
Clicking on one of the suggestions will take the user directly to that page on your site instead of a search results page.
Additional Selectors
By default, Autosuggest will work with any HTML input element where type="search" or where class="search-field". You can add additional selectors by entering them in the text box and clicking the Save changes button.
Google Analytics Events
In order to use Google Analytics Event Tracking to track when a user clicks a link from the Autosuggest list, you must enable Google Analytics events. To track GA events, check the Trigger Google Analytics events.
For more information on Google Analytics Events and how to utilize these events in your reports, visit Google’s documentation.
NOTE: In order for this feature to work, you must have the Google Analytics global site tag installed on your site.
Did You Mean
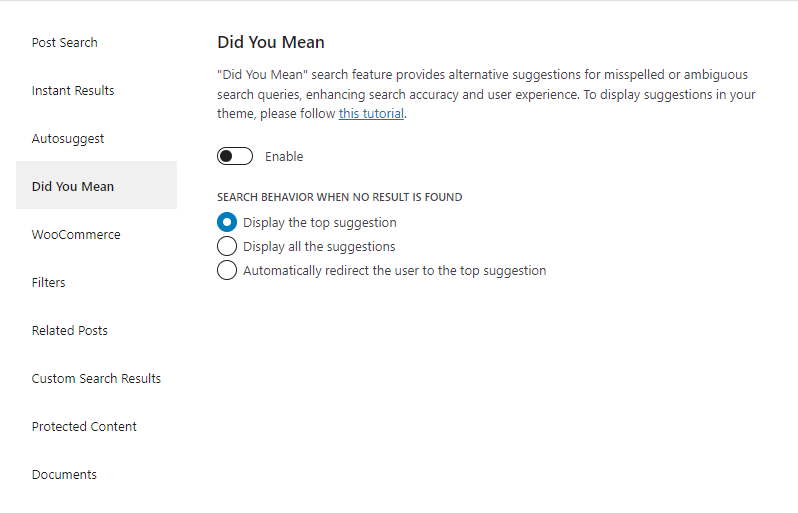
Given how different WordPress themes can be, the Did You Mean feature requires a small change in code. Check out this article to know more.
WooCommerce
If you use the WooCommerce plugin on your site, ElasticPress can index your products and present them in search results.
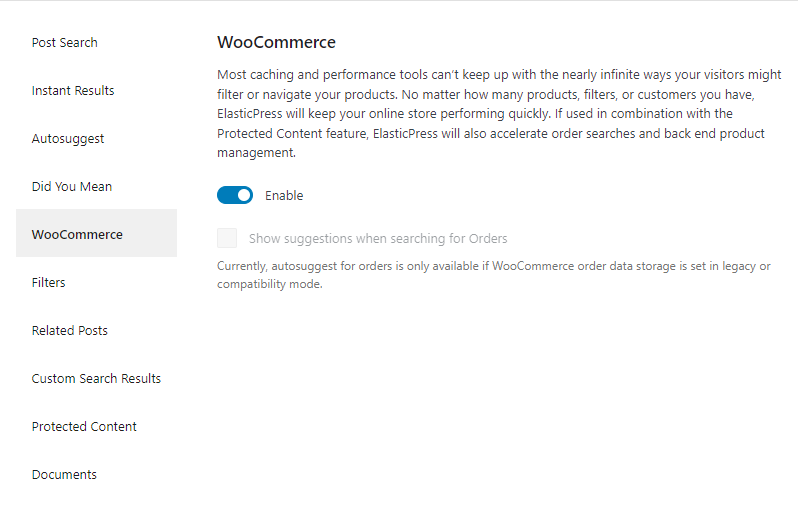
To enable WooCommerce product search, toggle the Enabled option and then click the Save changes button.
Once WooCommerce search is enabled, see the Configuring Search Fields and Weighting for ElasticPress for more information on how to adjust search settings for products.
Orders Autosuggest
ElasticPress.io users have access to the Orders Autosuggest feature: our typeahead search for WooCommerce orders inside the WordPress Dashboard. Read more about it in our Configuring ElasticPress.io Order Autosuggest article.
Filters
Faceted search is a way to explore or filter large amounts of data by summarizing the data based on its attributes. Out of the box, ElasticPress supports faceting on tags, categories, and formats.
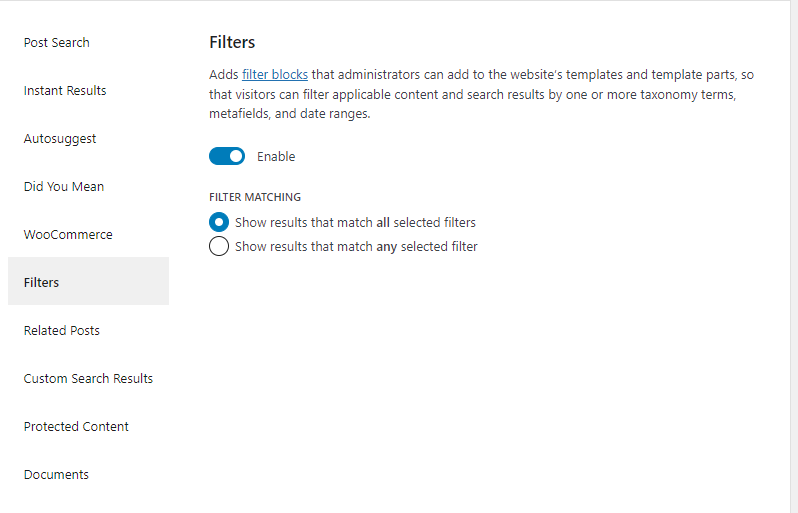
Enabling Filters
To enable filters, toggle the Enable selector and click on Save changes.
You can also choose the Match Type that applies to facets:
- Show results that match all selected filters: If you choose this option, clicking on multiple filters may decrease the number of posts that appear by further filtering or drilling down to articles that share all the selected attributes.
- Show results that match any selected filter: If you choose this option, clicking on multiple filters may increase the number of posts that appear by adding additional “OR” criteria to the filter.
Once you’ve enabled Filters, read Adding and Configuring Filters Blocks for help adding the Filters functionality to your site.
Related Posts
Because ElasticPress indexes and understands data in real-time, it can instantly deliver related content without impacting site performance.
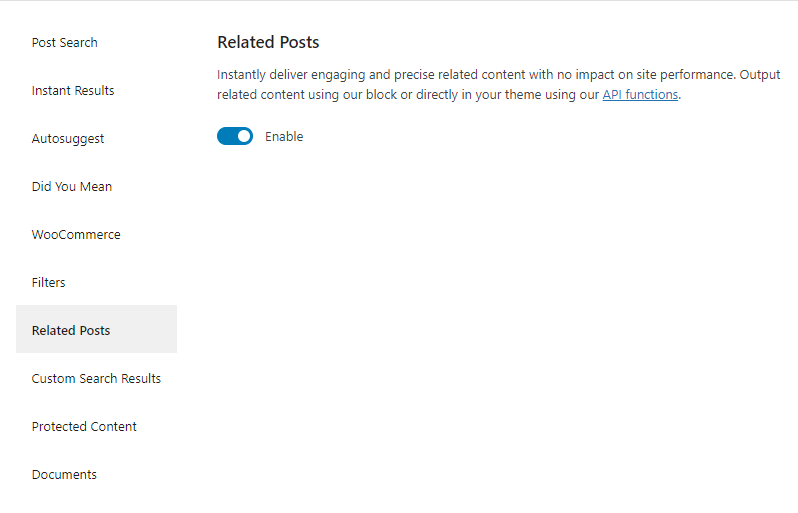
To enable the Related Posts feature, toggle the Enabled selector and then click the Save changes button. Once the Related Posts feature is enabled, read Adding and Configuring the Related Posts Block for help adding the functionality to your site.
Custom Search Results
ElasticPress allows you to customize search results for specific queries, in order to emphasize, promote, or de-emphasize specific search results.
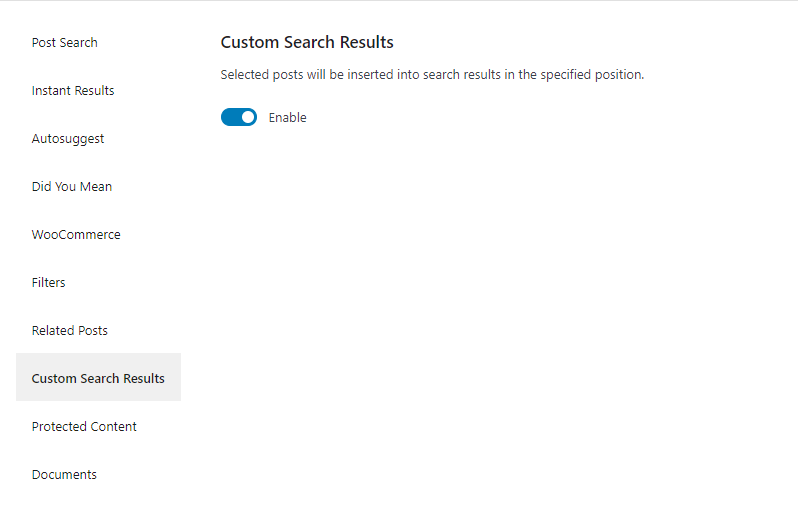
To enable Custom Search Results, toggle the Enabled selector and then click the Save changes button.
For instructions on configuring Custom Search Results, read Configuring Custom Search Results.
Protected Content
In addition to your published content, ElasticPress can index protected content (including drafts, private posts, and scheduled posts.) This will improve load time in the administrative dashboard.
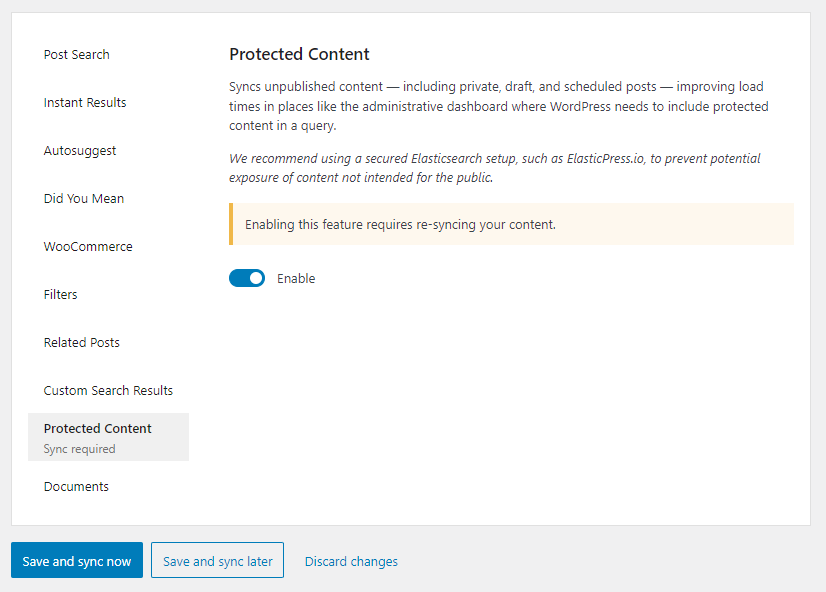
To activate indexing of protected content, toggle the Enabled selector and then click the Save changes button.
NOTE: Protected Content requires a full sync to start working.
Documents
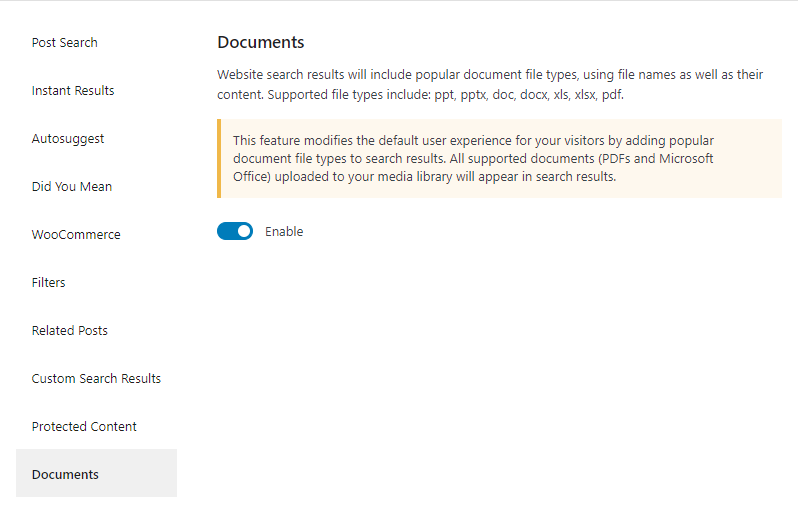
By default, ElasticPress will index the pages and posts on your site. You can also set ElasticPress to index the full text of PowerPoint presentations, Word documents, Excel spreadsheets, PDFs, TXTs, and CSVs to include those documents in your site search.
To enable document search, toggle the Enabled selector and then click the Save changes button.
Once document search is enabled, see the Configuring Search Fields and Weighting for ElasticPress for more information on how to adjust search settings for media.
NOTE: Protected Content requires a full sync to start working.
Comments
The Comments feature will empower your website to overcome traditional WordPress comment search and query limitations that can present themselves at scale. This feature is only needed if you are using WP_Comment_Query directly.
This feature is not displayed by default. Check this blog post to know how to display it.
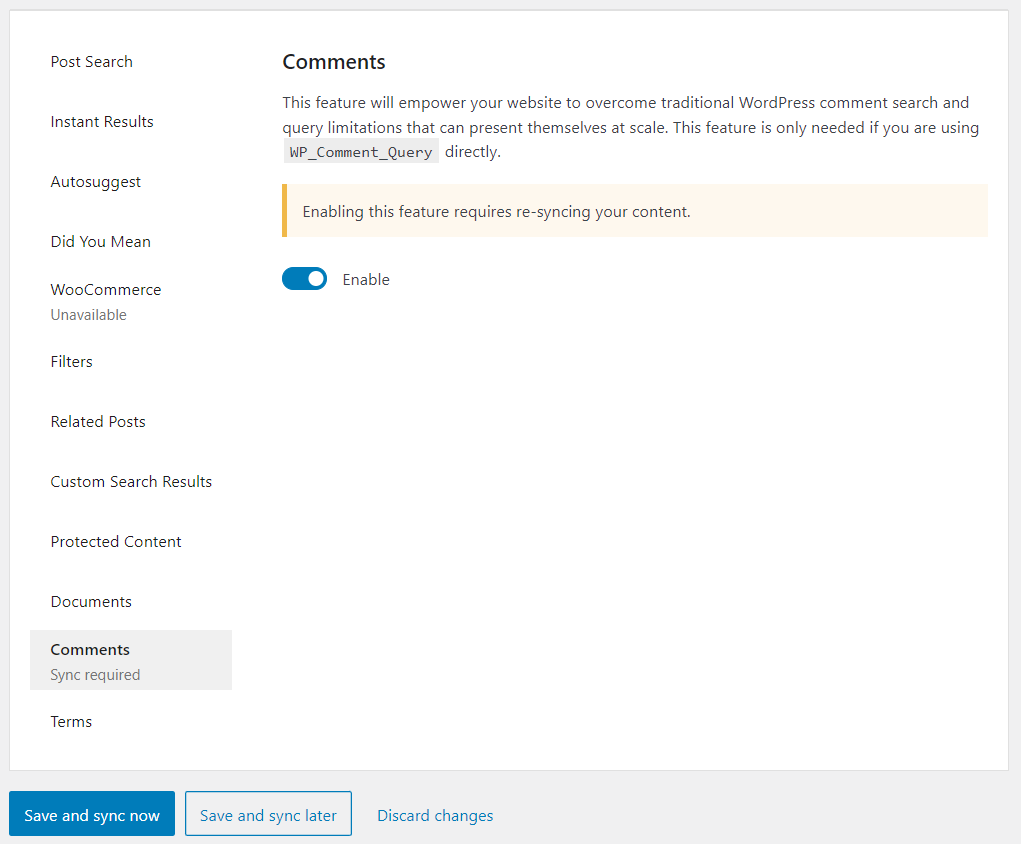
To enable the Comments integration, toggle the Enabled selector and then click the Save changes button.
NOTE: The Comments feature requires a full sync to start working. It also creates an additional index in your ElasticPress.io account.
Terms
This feature will empower your website to overcome traditional WordPress term search and query limitations that can present themselves at scale. This feature is only needed if you are using WP_Term_Query directly.
This feature is not displayed by default. Check this blog post to know how to display it.
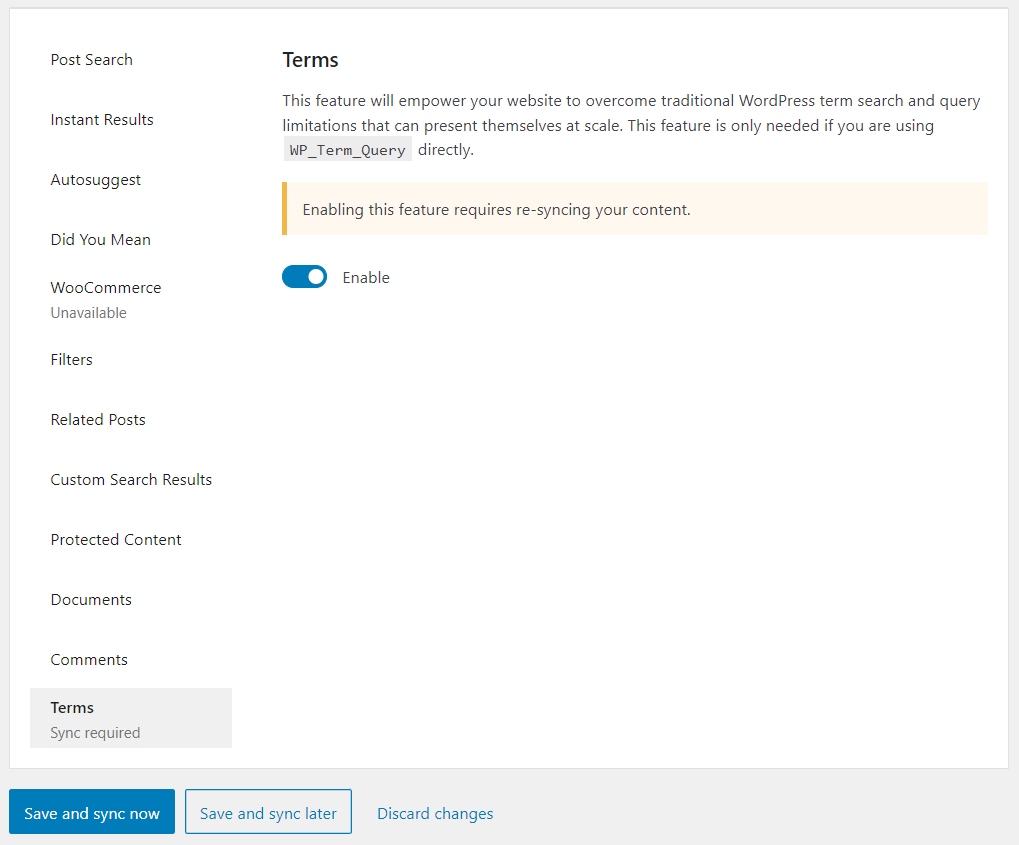
To enable the Terms integration, toggle the Enabled selector and then click the Save changes button.
NOTE: The Terms feature requires a full sync to start working. It also creates an additional index in your ElasticPress.io account.