Enhancing ElasticPress with Custom Functions
Sometimes, you will need to extend or enhance ElasticPress’s default functionality to meet specific use cases. Changing the default order of search results or filtering search query parameters are good examples.
You do not want to make that change directly into the plugin code: that would be overwritten when you update the plugin to a newer version. Below we list 3 ways you can add custom code directly to a WordPress website.
Caution: Always remember to back up your site before making any changes or additions to your website codebase.
Theme’s functions.php file
Adding code directly to the theme’s functions.php file is a simple and direct way to add custom code to a specific theme. However, this method is not recommended for beginners, as any errors in the code can break the entire site, and it’s entirely possible to lose the changes when you update your theme files.
If you are using a theme that receives external updates, like paid themes or the ones available at WordPress.org, we recommend you add the code using a child theme. This method allows you to customize the appearance and behavior of a theme without affecting the original theme’s code.
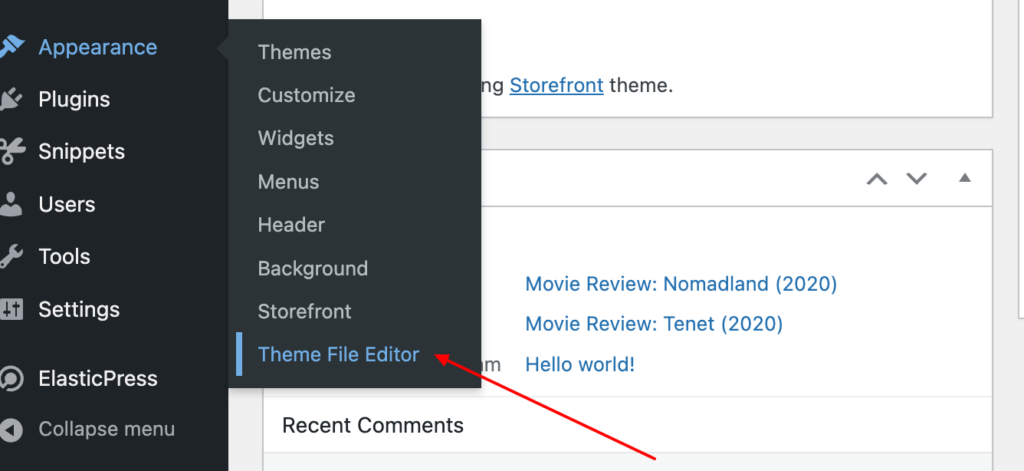
Follow these steps to edit that file through the WordPress Dashboard.
- Go to Appearance > Theme Editor
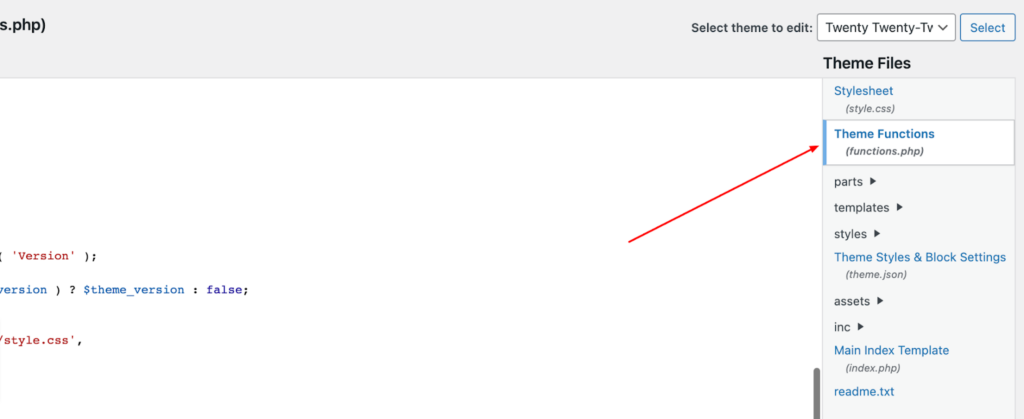
- Selecting the functions.php file from the list of theme files on the right-hand side of the page.
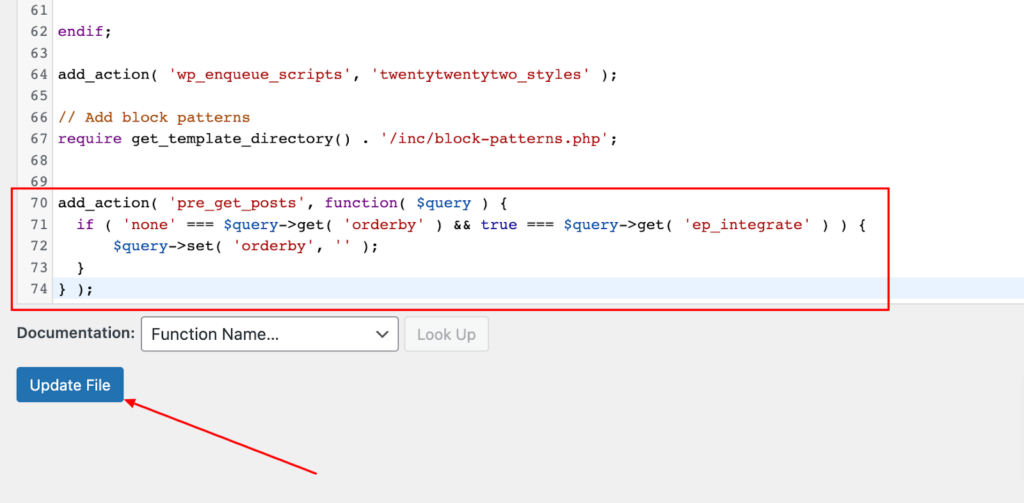
- Copy the code snippet you want to add and paste it into the bottom of the functions.php file. Save the file and refresh your site to see the changes.
Most ElasticPress-related snippets will work in your theme’s functions.php file, but some changes are considered plugin territory, so you might need a different approach for those.
New custom plugin
If you have a multisite using different themes, for example, it will be better to add a snippet to a plugin. WordPress plugins are simple PHP files placed in a specific directory.
Check the WordPress plugin handbook for full reference, but, in summary, steps are typically these:
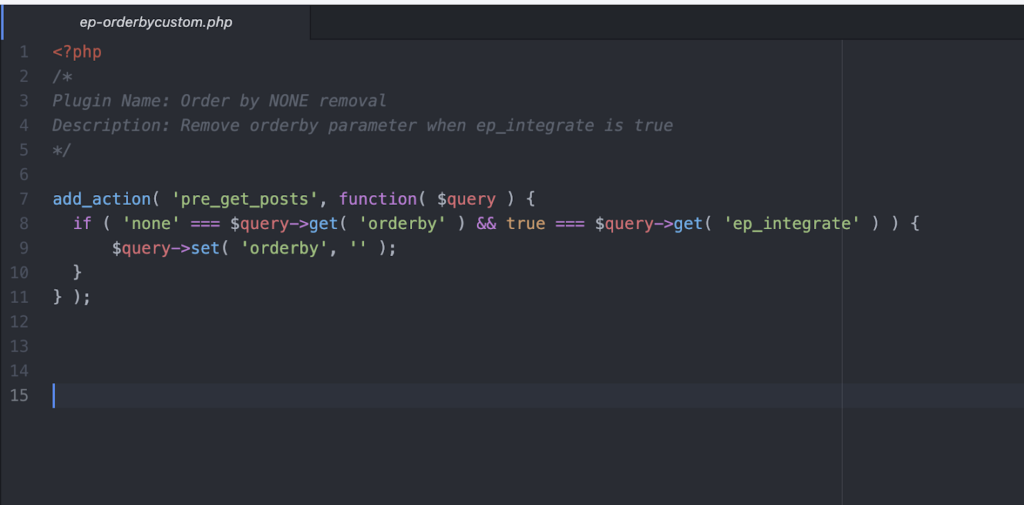
- Creating a file like the one below and zip it
- Go to Plugins > Add New Plugin
- Click on Upload Plugin and select the zip file created in step #1
- Activate it
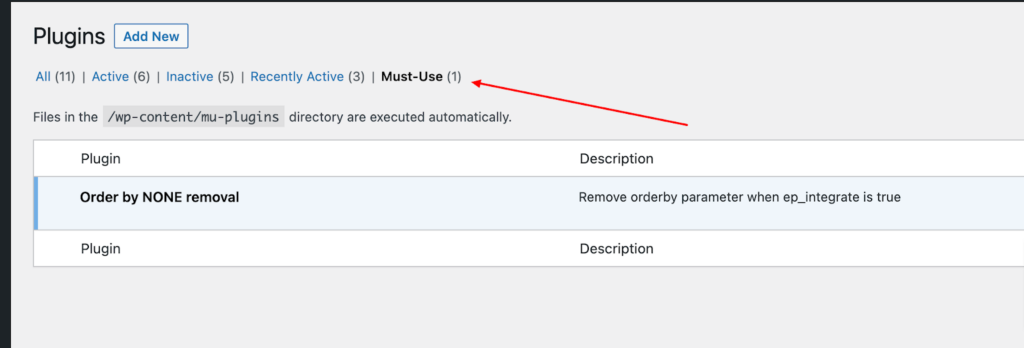
You can also upload the PHP file to your website. Placing it into the wp-content/plugins directory will make it a regular plugin, sending it to wp-content/mu-plugins will make it a must-use plugin. MU-plugins do not need to be activated, they are always loaded.
Using a Snippets plugin
The WordPress plugin repository has several different plugins that allow admin users to manage PHP code. The WPCode Lite plugin is just one example.
Recovering from Critical Errors Caused by Custom Code in WordPress
Despite best efforts, adding custom code to a website may sometimes cause unexpected critical errors in WordPress. To recover from such situations, follow the steps below:
If the code causing the error was added via a plugin, access your site’s files and locate the plugin folder. Then, deactivate the plugin by renaming its folder. If the custom code was added directly to the theme, you can remove it by accessing the functions.php file via sFTP or a file manager. However, be sure to remove only the code that caused the error and avoid removing other critical code.
Once you’ve removed the problematic code, save the changes and check your site to ensure that it’s working correctly. If the error persists, try a different method to undo the critical error or restore your site from a backup.
When the custom code causing the error is a must-use plugin, accessing the site’s files and locating the plugin folder is necessary. Remove the plugin file from the mu-plugins directory and check your site’s functionality.