Whether you’re interested in experimenting with Elasticsearch and WordPress, or you need to develop and test a site that will use ElasticPress in production, this guide will walk you through setting up 10up’s WP Local Docker with ElasticPress for your development environment.
Prerequisites
- Docker and docker-compose
- Git
Installation
First, we will set up WP Local Docker, 10up’s Docker-based WordPress development environment:
- Git clone WP Local Docker to your local machine inside a folder named ep-env.
git clone https://github.com/10up/wp-local-docker.git ep-env
- In the ep-env folder, run:
docker-compose up
This starts up Docker containers for PHP-FPM (WordPress), NGINX, MariaDB (MySQL), and Elasticsearch. If this is your first time, it may take a while to complete the image downloads. Currently, this project contains the following versions:
• NGINX, latest version• PHP-FPM, version 7.0.x• Elasticsearch, version 5.x• MariaDB, latest version• Memcached, latest versionNote: “Latest” version means the newest version supported in Docker Hub.
- Next, set up WordPress.
On Linux / Unix / OSX, run:sh bin/setup.sh
On Windows, run:
./bin/setup
- Navigate to http://localhost in a browser to finish WordPress setup.
Now let’s set up the ElasticPress plugin:
- Login to your WordPress Admin area
- Go to Plugins > Add New and search ElasticPress

- Install and activate ElasticPress
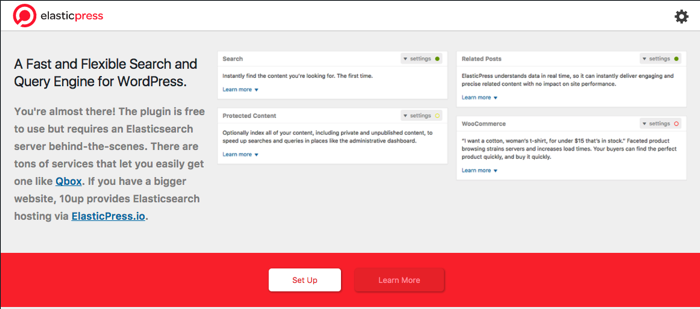
- Navigate to ElasticPress in the menu, you will be shown the welcome screen:
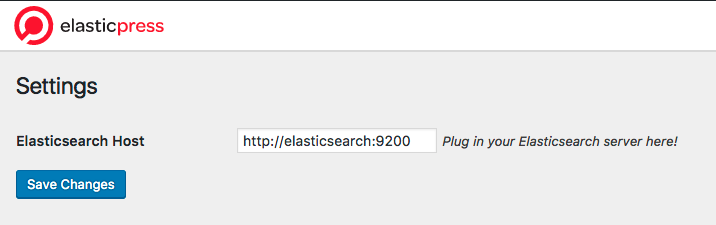
- Click “Set Up” to be taken to the settings screen. Once inside the settings screen, input http://elasticsearch:9200 for “Elasticsearch Host”.
- After saving, you will see a dashboard notification asking you to run your first sync. Click that link; the run time depends on the amount of content you have. Make sure not to close the browser window during syncing.
That’s it! You now have ElasticPress set up locally with the latest version of Elasticsearch.
Advanced
Container Customizations
WP Local Docker contains a docker-compose.yml file. You can override environment specs to match your project requirements by copying docker-compose.yml to docker-compose.override.yml. For example, you could change your Elasticsearch version like so:
Change:
elasticsearch:
    image: elasticsearch:5
To:
elasticsearch:
    image: elasticsearch:5.2
Document Search
ElasticPress 2.3+ supports document indexing for popular file types (e.g. pdf, doc, ppt). To activate this feature, you need to install the Elasticsearch Ingest Attachment plugin. Here are the steps to do that:
- Ensure WP Local Docker is running.
- From inside your WP Local Docker directory, run the following command:
docker-compose exec --user root elasticsearch bin/elasticsearch-plugin install ingest-attachment
- Restart your environment:
docker-compose restart
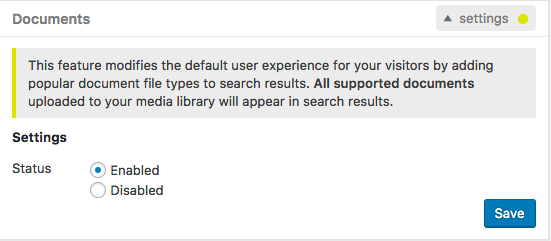
- Go into the ElasticPress dashboard within WordPress and activate the feature:
Your documents will now be indexed and show up in front-end search.